
This is the first year I have actually had any kind of success growing herbs on my balcony. We don't get much sun on our side of the apartment complex, so last year's cilantro grew from seed to an impressive 1 1/2 inches tall before wilting and turning brown. It was a sad day.
That's why I call this post a Beginner's Guide. I am definitely a beginner myself.
This year though, Old Man Mike who lives around the corner gave us a big stash of full grown herb plants. We love Mike. He sits outside his house every day with his guitar and his tomato plants. He knows every single person that lives on his block. And he's been kind enough to give us plenty of invaluable advice about growing things.
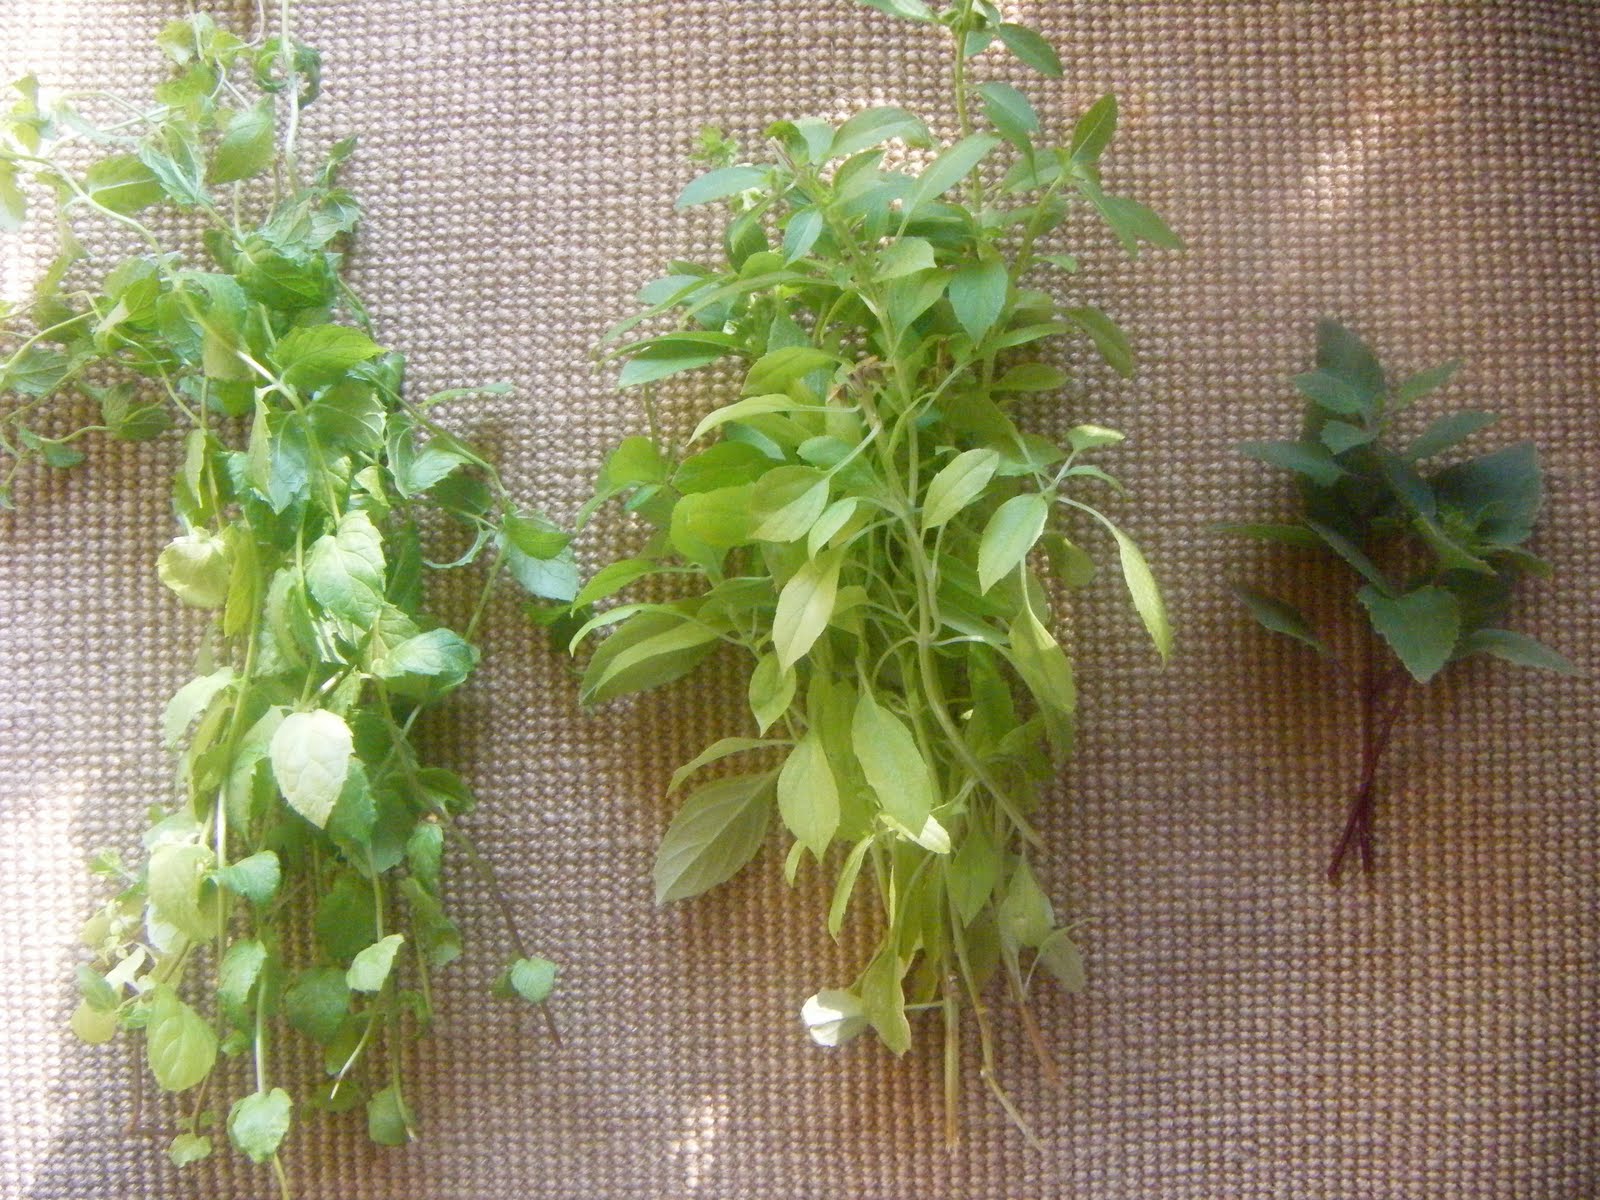
I recently harvested some mint, spicy basil, and bee balm from my containers.
Mint: I make mint tea from my dried mint leaves! Aside from tasting delicious, mint can help soothe an upset stomach and has anti-fungal properties.
Basil: I haven't dried much basil this year since I need to make it through my Costco-sized container of organic dried basil before using valuable kitchen cabinet space to store more. But I have made lots of pesto this year!
Basil has antibacterial and anti-fungal properties and can also aid in digestion.
Bee Balm: This one was new to me, but when Mike told me to make a tea from it to clear up a stuffy nose and congested chest in the winter, I was sold. I don't get sick very often, but when the snot comes, I want it out of my body as soon as possible!
A little research confirmed that bee balm is good for nasal congestion, a tight chest, colds & flu as well as nausea. The 'real' name of this herb is Bergamot.
Here's the drying process:
1. Rinse the herbs in clean water. Set them on a towel to dry.
2. Gather several stalks of the herb and tie them at one end with a piece of string or yarn. You can dry more in one bunch than I have pictured here, but be careful not to use too much or the leaves inside the bunch could mold. Tie the string tightly as the herbs will shrink slightly as they dry.

3. Hang them in a cool, dry place away from sunlight.

4. After 2-3 weeks, untie the herbs and break off the leaves. Store them in a glass container. Make sure you label it!
I love growing my own herbs. It is so much more cost effective than spending $3 on a plastic pouch of already cut herbs from the store. You can buy an entire plant for $3, have fresh herbs all season long, then dried herbs for tea and seasonings all through the fall and winter.
Just try to tell me eating healthy and living naturally is too expensive ;)
Do you grow herbs or like to cook with them? Which are your favorite?
Cool! Do you ever make herb ice cubes? Basil, dill, oregano, lemon balm, and sage are incredible! I put them in the Vitamix with a little water, buzz, and then pour into ice cube trays. They taste awesome in soups and pestos in the middle of winter!
ReplyDeleteWhat a great idea! Thanks for the tip. I'll have to try that with basil and use them in Basil Lemonade! :)
ReplyDeleteHmmm.....YUM. I think that would call for multiple trips to the Silly Goose to perfect our taste buds. :)
ReplyDeleteI definitely think that will be a necessity! :-P
ReplyDelete